
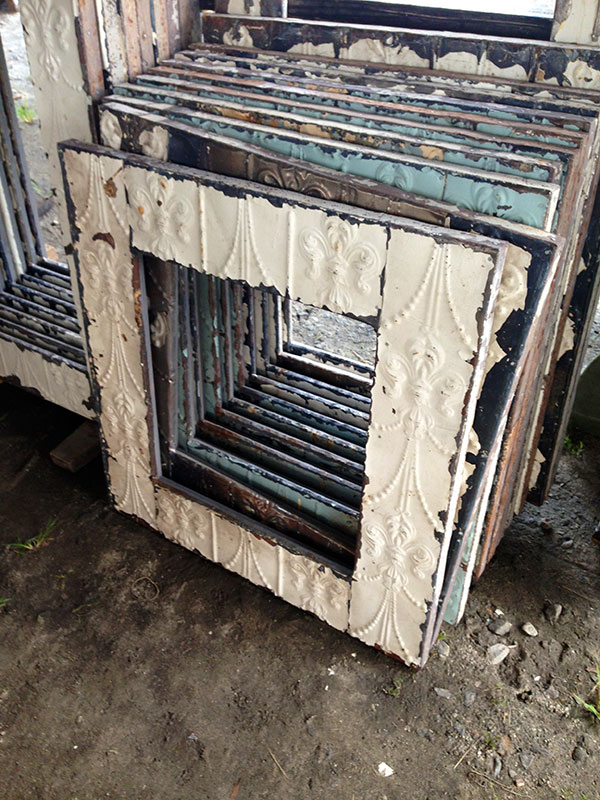
I always look forward once a month to go to Scott’s Antique Market here in Atlanta. It’s full of treasures – old window panes, ceiling tin, antique furniture. I picked up this really cool frame made of ceiling tin and decided it would look great in my kitchen with a chalkboard put in.
Materials needed:
– Frame of your choice
– a thin wooden board cut to size (I purchased mine from Home Depot and they were able to cut it to the custom dimensions I provided).
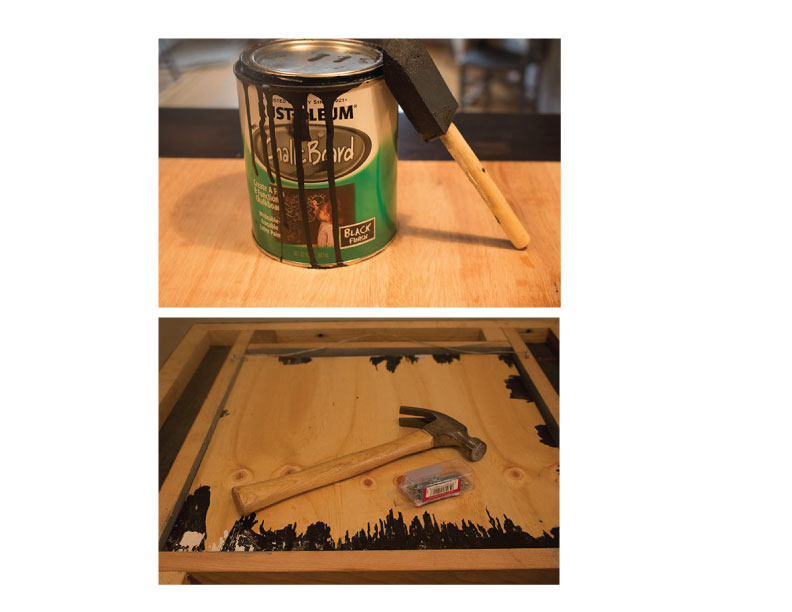
– Primer
– Chalkboard Paint (Can be found at Home Depot or any craft store)
– Chalk
– Paint Brush
– Nails
– Eye Hook Screws
– Hammer
– Picture hanger and Wire
Steps:
1- Have home depot cut a thin piece of wood to the custom dimensions of your frame.
2- Paint the wood with Primer first
3- Paint the wood with chalkboard paint and let dry for at least 1 hour
4- Paint a second coat of chalkboard paint and dry according to the recommended drying times on the paint can.
5- Insert the fully dried board into the back of your frame. Hammer nails into the sides of the frame to secure the board.
6- Adhere eye hook screws on each side of the frame towards the top and string wire through to create a hanging element.
7- Start drawing! Put a quote on your new chalkboard or a shopping list – be creative.
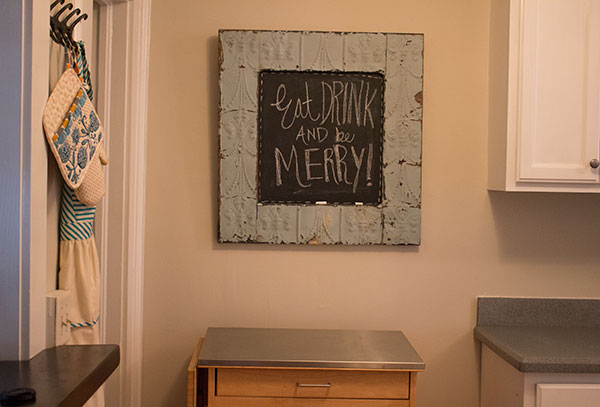
Enjoy!
